

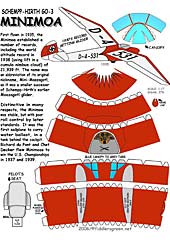
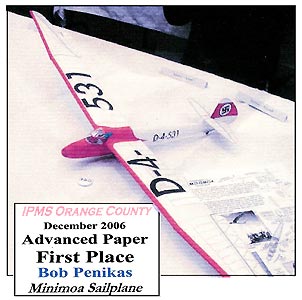
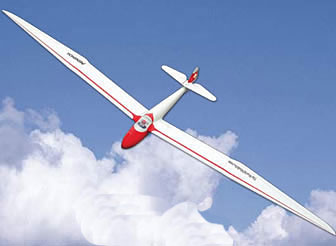
Minimoa Sailplane - $$8.50
It was made out of wood and fabric with cantilevered 'gull' wings. A B-version in 1938 had thinner wings with a modified section and the gull's kink in a different place. The undercarriage was non-retractable. It was the first glider built to carry water-ballast in a tank behind the pilot.

The Legendary Minimoa 1930s Sailplane
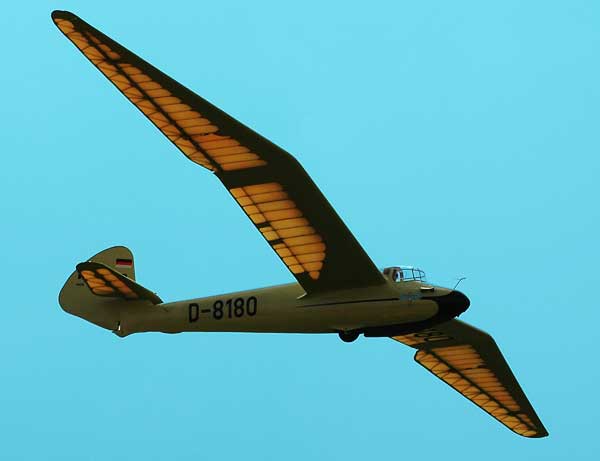
The Minimoa with its amazing silhouette, it’s
probably one of the most reproduced vintage gliders these days,
but it still remains a curiosity. It symbolizes the 30’s
of the German soaring. It was for many of us a technological
marvel which helped many pilots quit the slope flying and explore
the thermal or even the wave soaring. It was a big step from
experimental soaring to pure sport flying. Its shorter 17 meter span cut costs while its stronger structure allowed higher speeds.
The Minimoa was one of the first realization of the young company
Göppingen Segelflugzeug-bau born in 1935 when Wolf Hirth
and Martin Schempp teamed up. Renamed Schempp-Hirth Segelflugzeugbau
after the war, they are today one of the most famous and largest
glider manufacturer.
Beautiful glider - there is a reason VSA put it in the middle of their logo. "Gull wing" vintage gliders are a big deal. Beautiful and a bit more complex, they mark an especially elegant era in soaring. Then the aerodynamicists proved that there was no significant performance benefit from the gulled section of the wing, and we've been flying straight winged gliders ever since. Pity. Cam
I 'joined' a few months ago and have delighted in not only making the models with my son but also reading the background materials. I find myself looking forward to Friday afternoon to see what the latest model will be. Don't worry about going to a two-week schedule - these models are worth the wait. Regards, Bruce Chochino, Toronto, Ontario.
Howzit,, Liking the gliders, d--n HUGE!! Niki
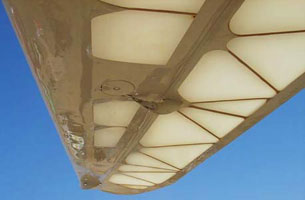
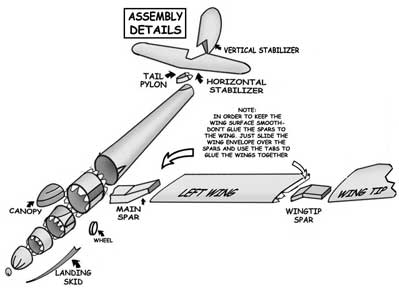
On my build, the wing tip spar box is not a
snug fit into the wing structures. If we do not glue the wing
tip spar; doesn't it just flop around inside the wing? Since
the wing tip attachment to the wing is already nicely established
by the wing envelope design, of what use is the tip spar?
Bob Penikas
Bob, We tried to get the sparlet and the wing sheath to
fit tightly.. We glued it at first but it left an ugly glue
shrink-up on the wing.. I figure the wing will start to sag
someday and that bit of support will help..
The outer ones helped to keep the gull shape as well as strengthen
the outer wing.. Did you 'feel' the strength with your Minimoa? chip
|
 |
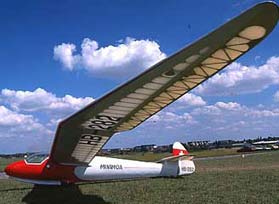
Minimoa 1930s Sailplane
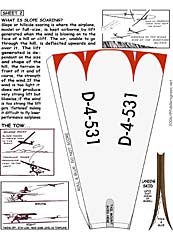
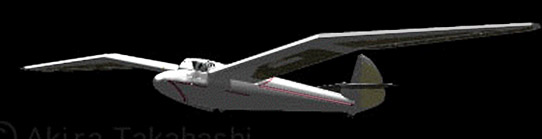
 To
retain the stability and safe handling of the Moazagotl, the
new sailplane had the same general features, a swept back wing
with pronounced gull dihedral, large ailerons and strong washout,
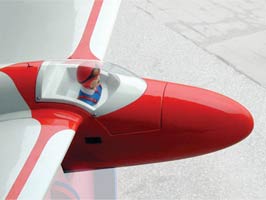
mounted high on the fuselage. When seated, the pilot's head
was inside the wing, so outward vision was not good. A window
in the roof helped a little. Landings would be on a skid. Split
flaps were installed beneath the wing to aid landing in small
spaces.
To
retain the stability and safe handling of the Moazagotl, the
new sailplane had the same general features, a swept back wing
with pronounced gull dihedral, large ailerons and strong washout,
mounted high on the fuselage. When seated, the pilot's head
was inside the wing, so outward vision was not good. A window
in the roof helped a little. Landings would be on a skid. Split
flaps were installed beneath the wing to aid landing in small
spaces.
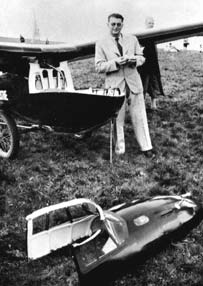
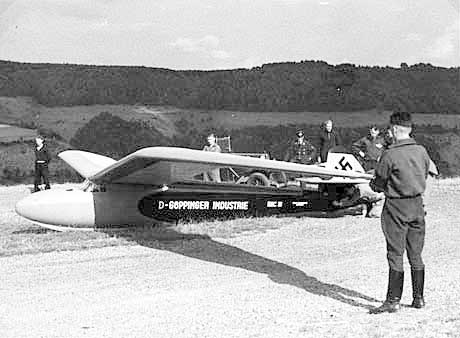
Because of his artificial leg, Hirth (right) had the controls set up with an overhanging control column working a torque tube which passed over his right shoulder to bell cranks in the wing root. The entire top front of the fuselage lifted off to allow him to get in and out. This was not to continue with production aircraft however.
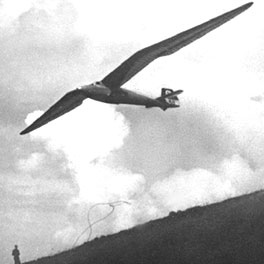
This unusual prototype flew in 1935 and was taken to the Rhon meeting. A smaller version of the Moazagotl, was named the Minimoa. The first Minimoa accompanied Hirth when he visited Japan to demonstrate and promote soaring later in 1935, and was sold there. A second prototype was built, with a landing wheel and normal controls. This too went to Japan later. One more of the high winged version was built and sold to a Romanian pilot.
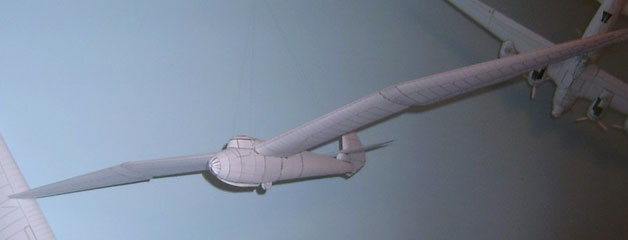
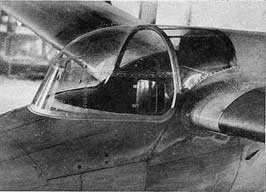
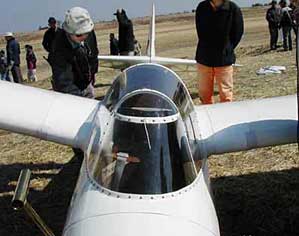
After this there was some substantial redesign before production began. The wing was mounted lower on the fuselage with a new, much improved cockpit canopy giving the pilot a better view.
The tail unit also was redesigned with a fixed tail plane instead of the all moving elevator of the prototypes. Various sizes and types of rudder were tried at different times.
The landing flaps were replaced by spoilers and eventually, on later models, air brakes.
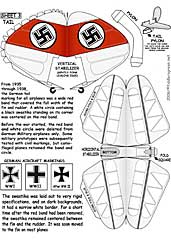
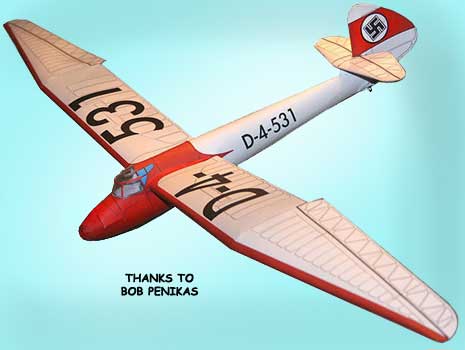
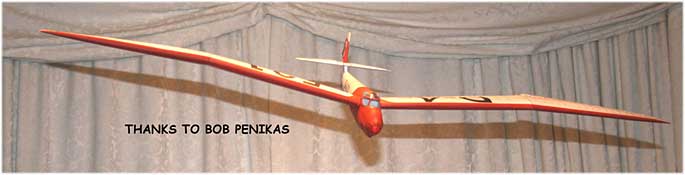
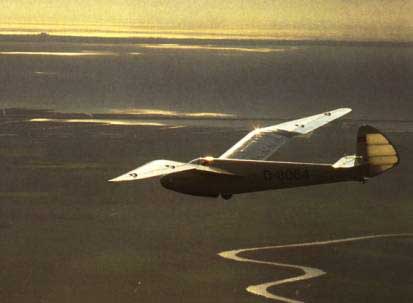
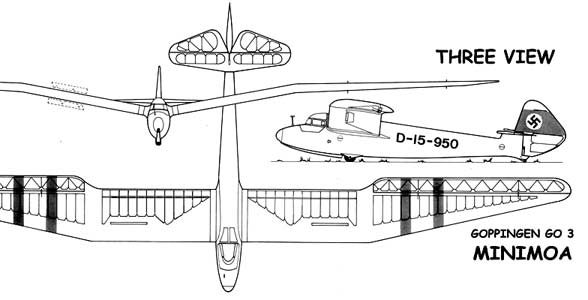
 This is a photo of the Fiddlersgreen version of the Minimoa. The red band around the swastika was used on civilian aircraft in the 1930s and 40s. |
 |
 |
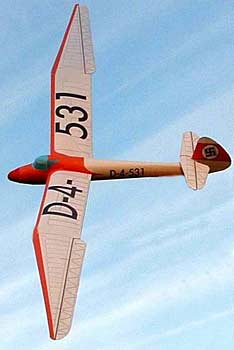
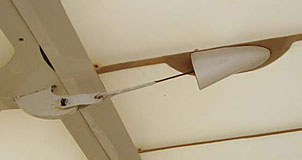
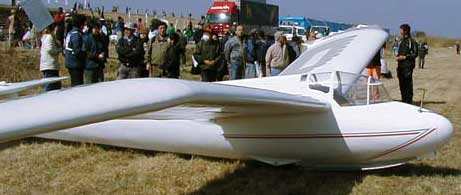
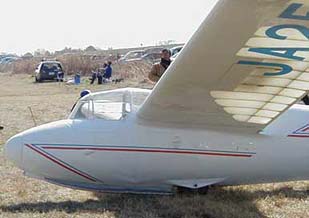
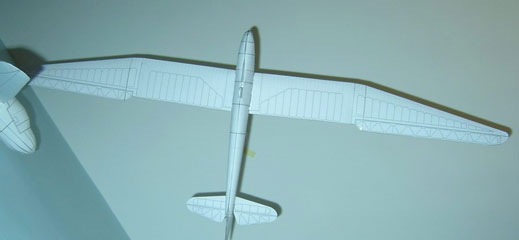 Three views of Kancho's Minimoa beta build-Sept '05. This has been over a year in the making |
 |
 |
 |
 Easy to follow, -and pretty enough to hang on your wall- instructions come with every FG model |
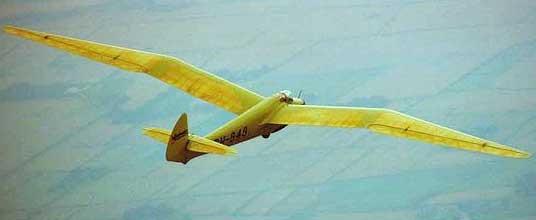
  I'm sending two Minimoa photos along. The first is very similar to Bob Penikas' shot, the other was taken at Lehigh University's lookout over Bethlehem, Pa. Dick Doll |
 |
  |
  |
 |
  |
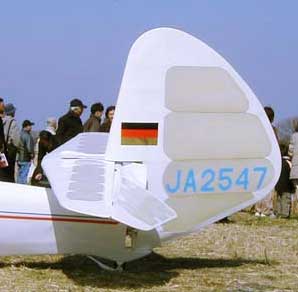 Tail with Japanese markings |
  |
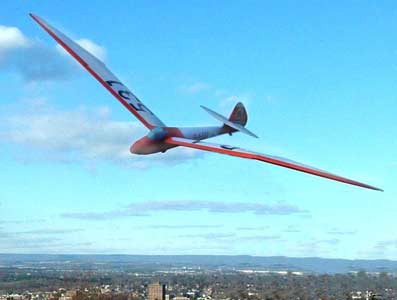
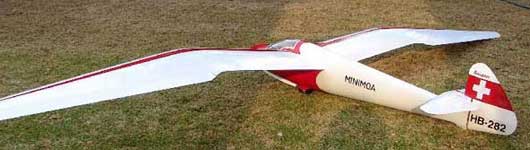 These last three images are of a Minimoa RC model |
Minimoa Sailplane Specifications
 |
Length: 22 ft 11.5 in Wingspan: 55 ft 9 in Wing area: 204.9 ft² Empty weight: 539 lb Max takeoff weight: 770 lb Wing profile (airfoil): Go 681, 693 Performance Maximum speed: 136 mph Wing loading: 3.75 lb/ft² Minimum sink: about 2 ft/s at 37 mph Glide ratio: 28:1 at 45 mph |